
The Complete Guide to Building a Home Gym in a Small Apartment
You don’t need a garage. You need a corner and the few things that earn their space.

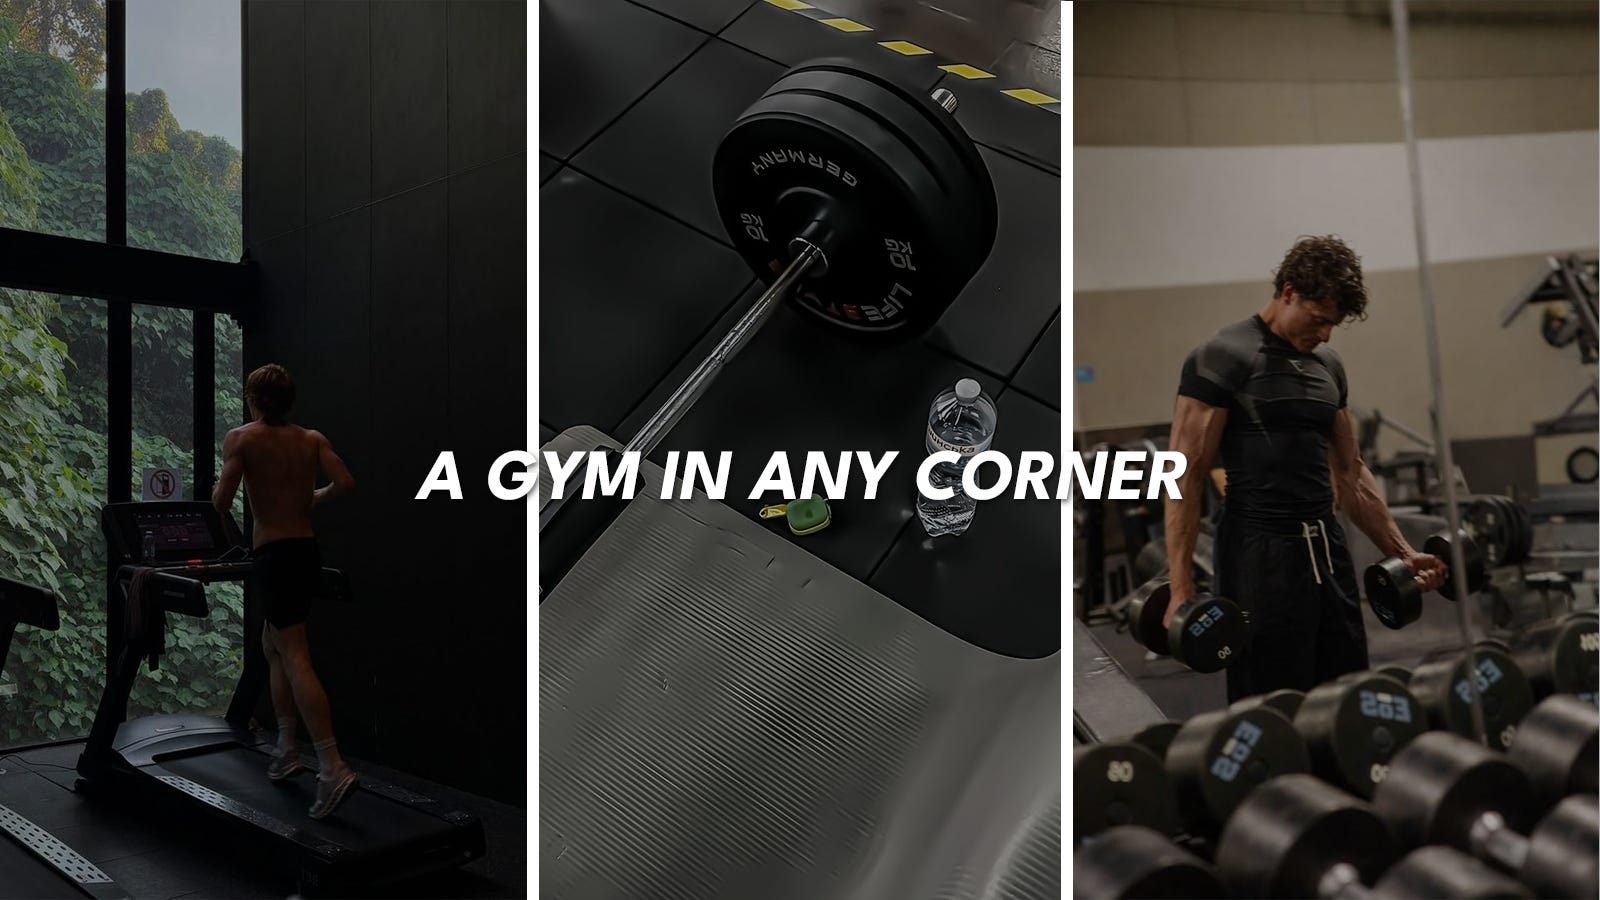
For years I never missed a martial arts class. Showed up rain or shine, because it was at a set time and people were expecting me. But ask me to go lift on my own, at a gym a fifteen-minute drive away after a long day, and I’d talk myself out of it about four nights in five. Same guy, same body, opposite follow-through. The difference was never how disciplined I felt on the day. It was friction.
For a long time I thought the fix was to want it more. Psych myself up, buy the better membership, swear that this was the week it finally stuck. None of it held, because you can’t out-motivate a thirty minute round trip and a packed evening gym where you queue for a bench. The wanting was never the problem. The distance was.
The thing that finally worked wasn’t more willpower, it was taking the trip out of the equation. Once the gear is a few steps from where you already are, the whole stack of small excuses just falls over. No drive, no bag, no waiting on someone to finish. And over a year, killing those excuses beats a fancier gym you visit half as often, by a mile. The best gym is the one you’ll actually use, and the one in your apartment wins that contest without trying.
So building a home gym in a small apartment isn’t about cramming a commercial gym into a bedroom. It’s about buying the few things that cover the most ground, keeping them set up and ready, and letting the removed friction do what your willpower couldn’t. You need far less than the internet wants to sell you: a corner, a handful of the right pieces, and no distance between you and the reps.
THE WHOLE IDEA
If you take nothing else from this, take these four lines.
The real thing you’re buying is no commute. A home setup wins on consistency, not on equipment quality, because the hardest rep of any session is the one that gets you out the door. Remove that and you simply train more, which beats a better gym you visit half as often.
You need far less than they sell you. A pair of adjustable dumbbells, a bench, and a bit of clear floor covers most of what a normal guy needs to build a genuinely solid body. The wall of machines was never the part doing the work.
Buy for movements, not muscles. Gear that lets you push, pull, squat, hinge, and carry trains your whole body, so pick the few versatile pieces over a pile of single-purpose gadgets. In a small space, adjustable and foldable beat big and fixed every time.
Start small and add. You don’t need the full setup on day one, you need enough to start this week and a clear order to grow in. The best home gym is the one you actually begin, then build out as you go.
Everything below is just how to do that without wasting money or space.
THE REAL WIN IS KILLING THE COMMUTE
Get this part right in your head first, because it changes what you spend money on. Almost everyone shopping for a home gym is trying to buy a better workout, when what actually moves the needle is a shorter distance to the workout you already know how to do. The commercial gym has nicer equipment, sure. It also has a drive, a parking spot, a locker room, a wait for the rack, and about forty small reasons to skip it after a long day. Your corner has none of that. It’s open when you’re free, it’s never busy, and it’s ten steps away. Over a month that convenience quietly turns into far more sessions, and more sessions is the entire game.
Consistency beats equipment, and it isn’t close. A guy training four times a week with dumbbells and a bench will out-build a guy with access to every machine who makes it in twice. The best gear in the world does nothing on the nights you don’t go, so buy the thing that gets you going more often.
Every removed step is a saved session. The bag you don’t have to pack, the drive you don’t have to make, the closing time you don’t have to beat: each one was a place your motivation used to leak out. Take them away and training stops being a trip you plan and becomes a thing you just do.
You stop negotiating with yourself. When the gym is across town, going is a decision you get to argue about every single day. When it’s in the corner, there’s nothing to debate, so you skip the daily wrestling match and just start. That saved willpower is worth more than any machine.
THE SHORT LIST THAT EARNS ITS SPACE
Here’s the actual gear, in the order I’d buy it. The whole principle is that a few versatile pieces beat a room full of specialized ones, so this list is short on purpose. You can build a body most guys would be happy with using just the first two items, and everything after is a nice-to-have, not a need. (I’ve linked a couple of independent comparison pages so you can pick the exact model for your budget rather than take my word for one brand.)
Adjustable dumbbells, first and non-negotiable. One pair replaces a whole rack of fixed weights in about three square feet and covers presses, rows, curls, squats, lunges, carries, the lot. Beginners do great with the Bowflex SelectTech 552 (easy dial, friendly price); if you want a fixed-dumbbell feel or heavier loading, the NÜOBELL and PowerBlock are the ones people rate. (how the main options compare) If you’d rather, a couple of kettlebells cover a lot of the same ground and store even smaller, though a pair of adjustables is the more flexible place to start.
An adjustable bench, second. Flat, incline, and upright unlock half of what your dumbbells can do, from pressing to rows to step-ups, and a folding one tucks flat against a wall between sessions. Any sturdy bench rated to a real load will do; you don’t need the expensive one.
A pull-up bar, third. Pulling is the one big pattern dumbbells alone don’t fully cover, and a pull-up bar fixes it for almost no money or space. A wall-mounted one anchored into studs is far sturdier than the doorway-clamp kind, so drill it in if you’re allowed to.
A dip station, right alongside it. Dips are one of the best upper-body pushes there is, loading your chest, triceps, and front delts hard with nothing but your bodyweight, and a compact dip stand stores in a corner and costs almost nothing. A lot of freestanding towers combine a pull-up bar and dip handles in one footprint, which is the efficient move if you’re tight on space. Between the bar and the dip station, your bodyweight pushing and pulling is fully covered, no machine required.
Resistance bands and a jump rope, to round it out. Bands handle warm-ups, pull-aparts, and the smaller movements that keep your shoulders healthy; a jump rope gives you real conditioning in one square meter. Together they cost less than a single month of most memberships. (a good overview of compact gear)
Optional, only if you’ve got the floor: a folding wall rack and a barbell. A wall-mounted folding squat rack (PRx is the best-known) folds to a few inches off the wall, and with a barbell and plates it turns your corner into a genuine strength setup. It’s the one big-ticket item worth it only if you’ll actually use a barbell and can anchor into studs.
TRAIN MOVEMENTS, NOT MACHINES
The worry guys have is that without machines they’ll miss something, but your body doesn’t know what a machine is. It knows a handful of movement patterns, and if you train all of them, you’ve trained the whole thing. A pair of dumbbells and a pull-up bar covers every one of these, which is exactly why that short list punches so far above its footprint. Organize your week around the five patterns below and nothing important gets left out.
Push: dips off the dip station, dumbbell bench press off the bench or floor, overhead press, incline press. That’s your chest, shoulders, and triceps handled between one pair of weights and your own bodyweight.
Pull: chin-ups and pull-ups, dumbbell rows, band pull-aparts. This is the back and biceps, the half of you that you can’t see but everyone else can.
Squat: goblet squats, dumbbell front squats, split squats and lunges. Your quads and glutes, no rack required, just a dumbbell held close.
Hinge: Romanian deadlifts with dumbbells, hip thrusts off the bench. The hamstrings, glutes, and lower back that make you strong from behind, not just in the mirror.
Carry and core: farmer’s carries walking the weights around the place, planks, and just hanging off the pull-up bar. Grip, midsection, and the connective tissue that holds all of it together.
MAKE A SMALL SPACE WORK
The last piece is making it livable, because a home gym that eats your living room or wakes the neighbors doesn’t last. None of this is complicated, it’s just the practical stuff nobody mentions until you’ve annoyed the guy downstairs. Sort these once and the corner stays a corner you’re glad to have, not a pile of gear you resent tripping over.
Put down flooring. A couple of rubber mats or interlocking tiles protect your floor, deaden the noise, and quietly mark the spot as the place you train, which matters more than it sounds. Horse stall mats are the cheap gold standard if the size works for your room.
Buy foldable and store it vertical. A bench that folds, dumbbells that stack tight, a rack that flattens to the wall: everything should tuck away so your corner isn’t a permanent obstacle course. Wall hooks and a small stand keep the floor clear and the space usable between sessions.
Respect whoever’s below you. Don’t drop the weights, ever, in an apartment. Lower dumbbells under control, keep the jumping and heavy thuds out of late nights, and the mats plus a bit of common sense keep you on good terms with the neighbors.
Keep it out and ready. The entire advantage here is zero friction, so don’t bury the gear in a closet you have to unpack every time. Leave it set up and in sight, because the corner you walk past is the corner you’ll actually use.
The best gym isn’t the one with the most equipment. It’s the one with the shortest distance between you and the first rep.
THE STARTER KIT
Here’s the whole thing as a buy list, in the order that gives you the most training per dollar. Start at whatever tier your budget allows and add up from there. Nothing here expires; each tier just adds range to the one below it.
The starter (begin this week):
Resistance bands and a jump rope.
A doorway or wall pull-up bar.
A mat for the floor.
Enough for real bodyweight and band training while you save for the next tier.
The setup that covers most guys for years:
Everything above, plus:
A dip station (or a tower that pairs it with your pull-up bar).
One pair of adjustable dumbbells, or a couple of kettlebells (the big buy either way).
A folding adjustable bench.
The full corner (if you want a barbell):
Everything above, plus:
A folding wall-mounted rack, a barbell, and a set of plates.
Rubber flooring under the rack.
The one rule if you ignore the rest: get the dumbbells and the bench before anything fancier. That pair does most of the work in about six square feet, and everything else is polish.
WHAT A CORNER BUILDS
Picture a corner of your place a few months from now. A bench folded against the wall, a pair of dumbbells on the floor, maybe a bar on a rack. Nothing that would impress anyone who walked in. But you’ve trained four, five times a week without once thinking about a commute, a membership, or whether the rack was free. You stopped negotiating with yourself about going, because there was nothing to negotiate: the gym is right there, it’s always open, and it’s yours. The body you build in that corner won’t care that it didn’t come from a fancy place with mirrors and a smoothie bar. It’ll just be built.
Twenty feet beats twenty minutes on every night you don’t feel like it.
RBLT
What’s the one piece of gear you’d start with if you had a corner and a couple hundred bucks to spend? And what’s actually been stopping you from setting it up? Tell me in the comments.
About RBLT
The fitness world is very good at making a simple thing feel impossible. RBLT is the simple version of getting in shape: how to train, eat, sleep, handle your head, and hold a standard, in plain language, none of the noise. If you’re done chasing the next hack and just want to get in shape and get on with your life, you’re in the right place.